Fabric Flowers
Last night we went over to spend some time with our neighbours. I took a craft project with me (an activity I haven't done for a few years now, but which I was slightly obsessed with for a while) to do with their eleven year old. While we're doing it, I reflect again on how much I enjoy doing crafts with other people, in person.
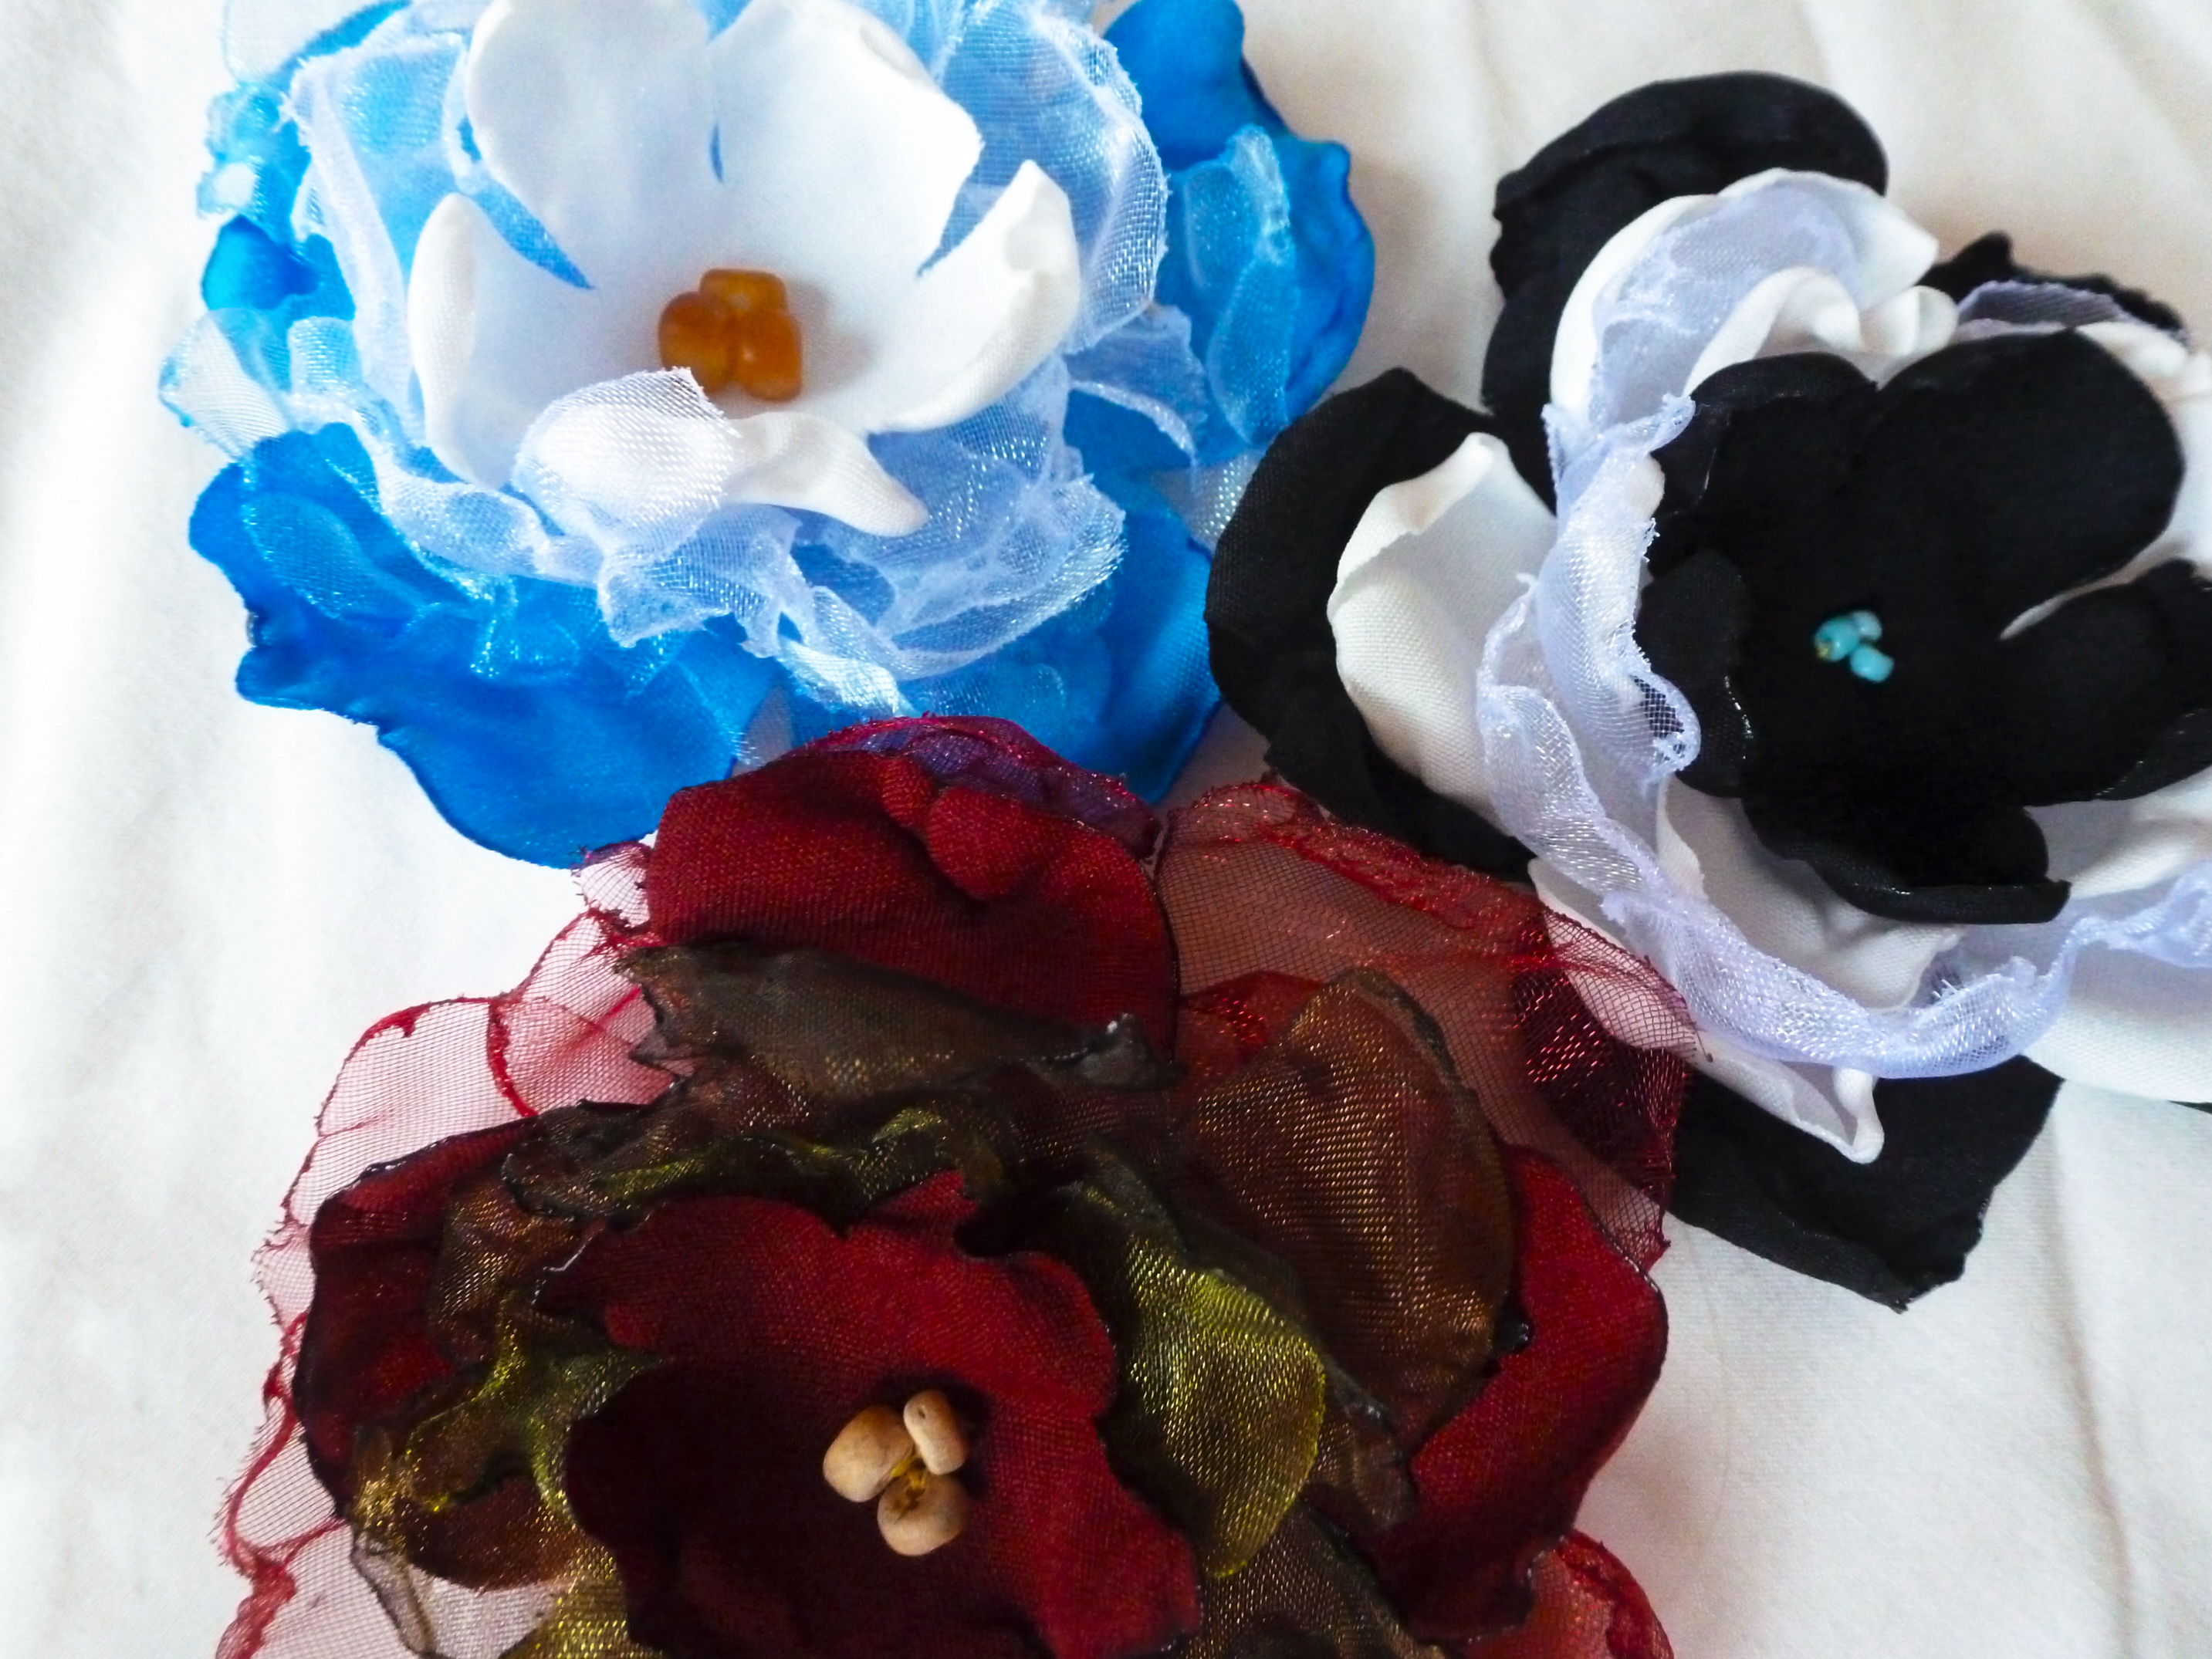
A friend and I learned how to make these fabric flowers for their UK wedding 14 years ago. All of us bridesmaids had them on our wrists and on hair accessories. They were fun to make and each one came out completely unique. When I arrived back in Aus after the wedding I made more and more of them, and eventually had to start selling them at markets to keep the numbers down at home!!
I don't remember where on the web the idea for these flowers came from originally, but there are quite a few people who have posted similar things - a Google or YouTube search will show you plenty of videos.
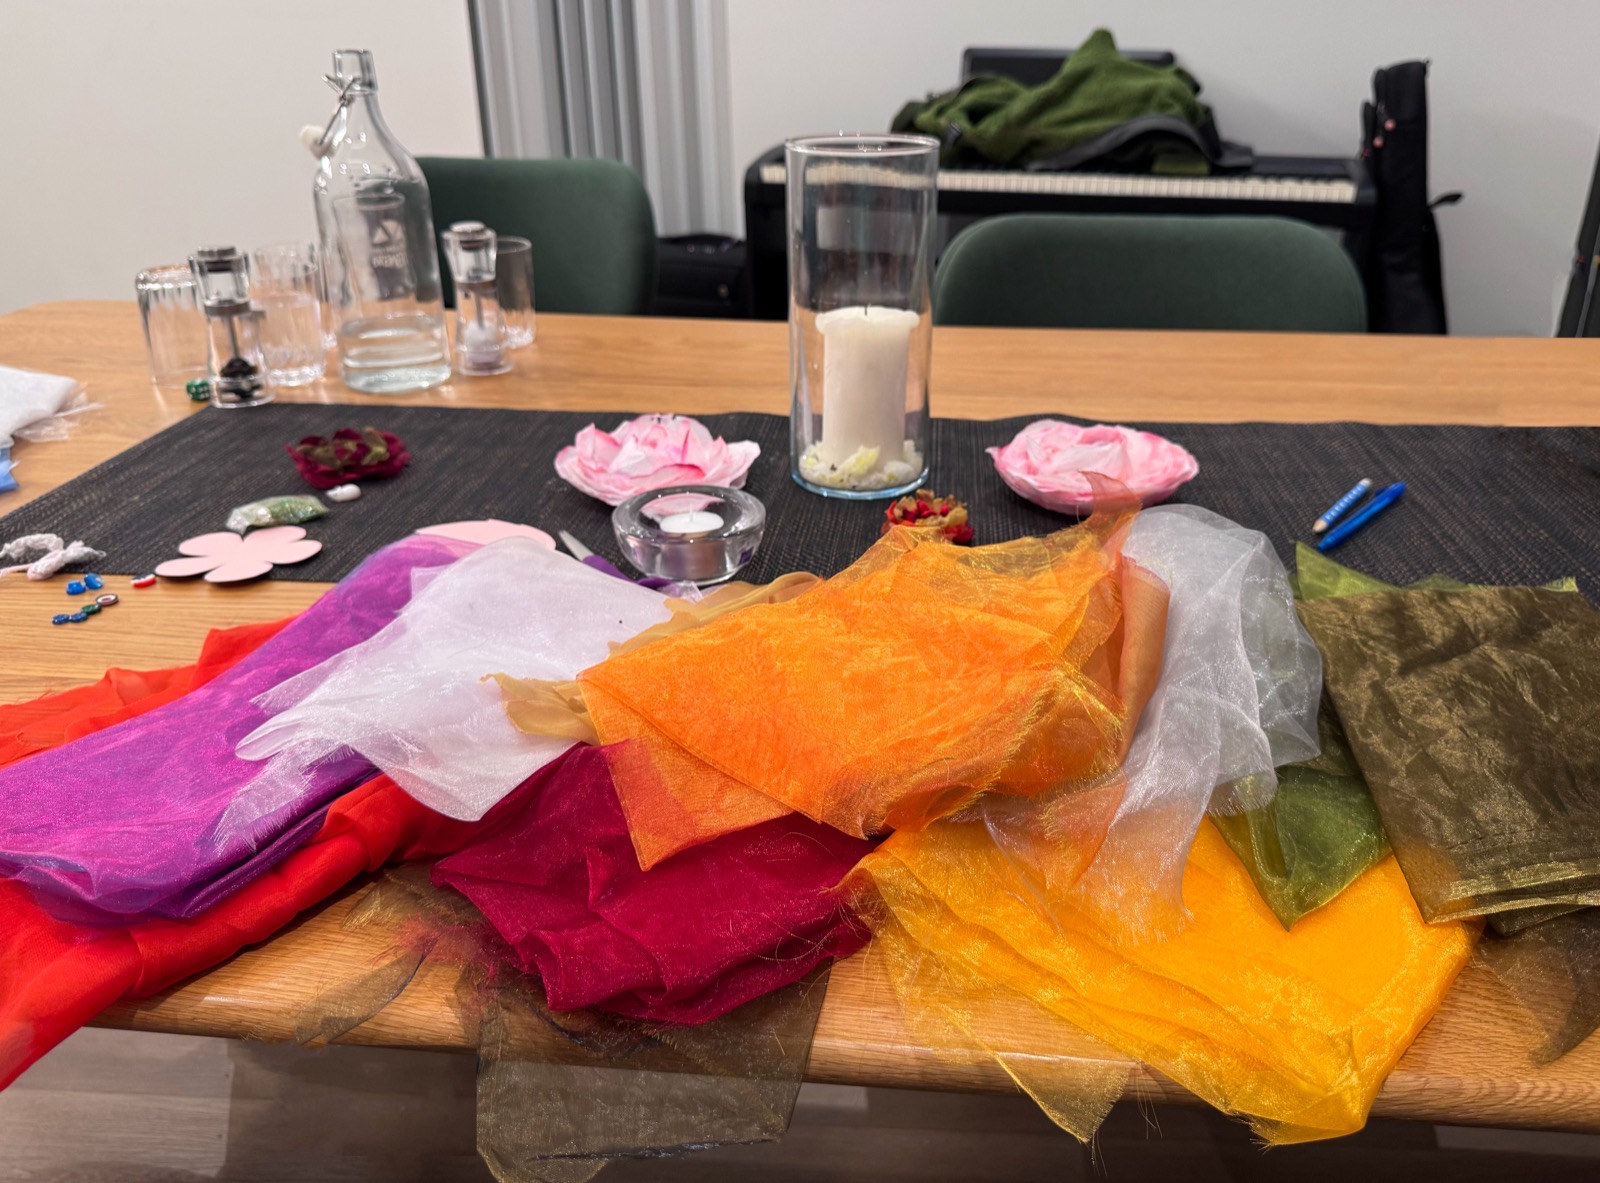
The main rule of thumb with this project is that the fabric you use has to be synthetic. It needs to burn! Organza is a great material to choose for this, but I would sometimes want some opaque colours in there as well, so I would get other bits of synthetic fabric too. We had a wonderful market where we were living at the time (shout out to Coventry!), and there were some fabulous fabric stalls there. We used to buy it by the metre and split the difference, but you don't need much per flower, so scraps will do just as well.
For this latest activity I make 5 templates - circles in different sizes that each have 5 evenly-spaced slits cut into them (from the outside to a centimetre or so from the middle). Using these templates, my neighbour and I cut circles of fabric in different sizes and colours, and start to layer them to see how they might look.
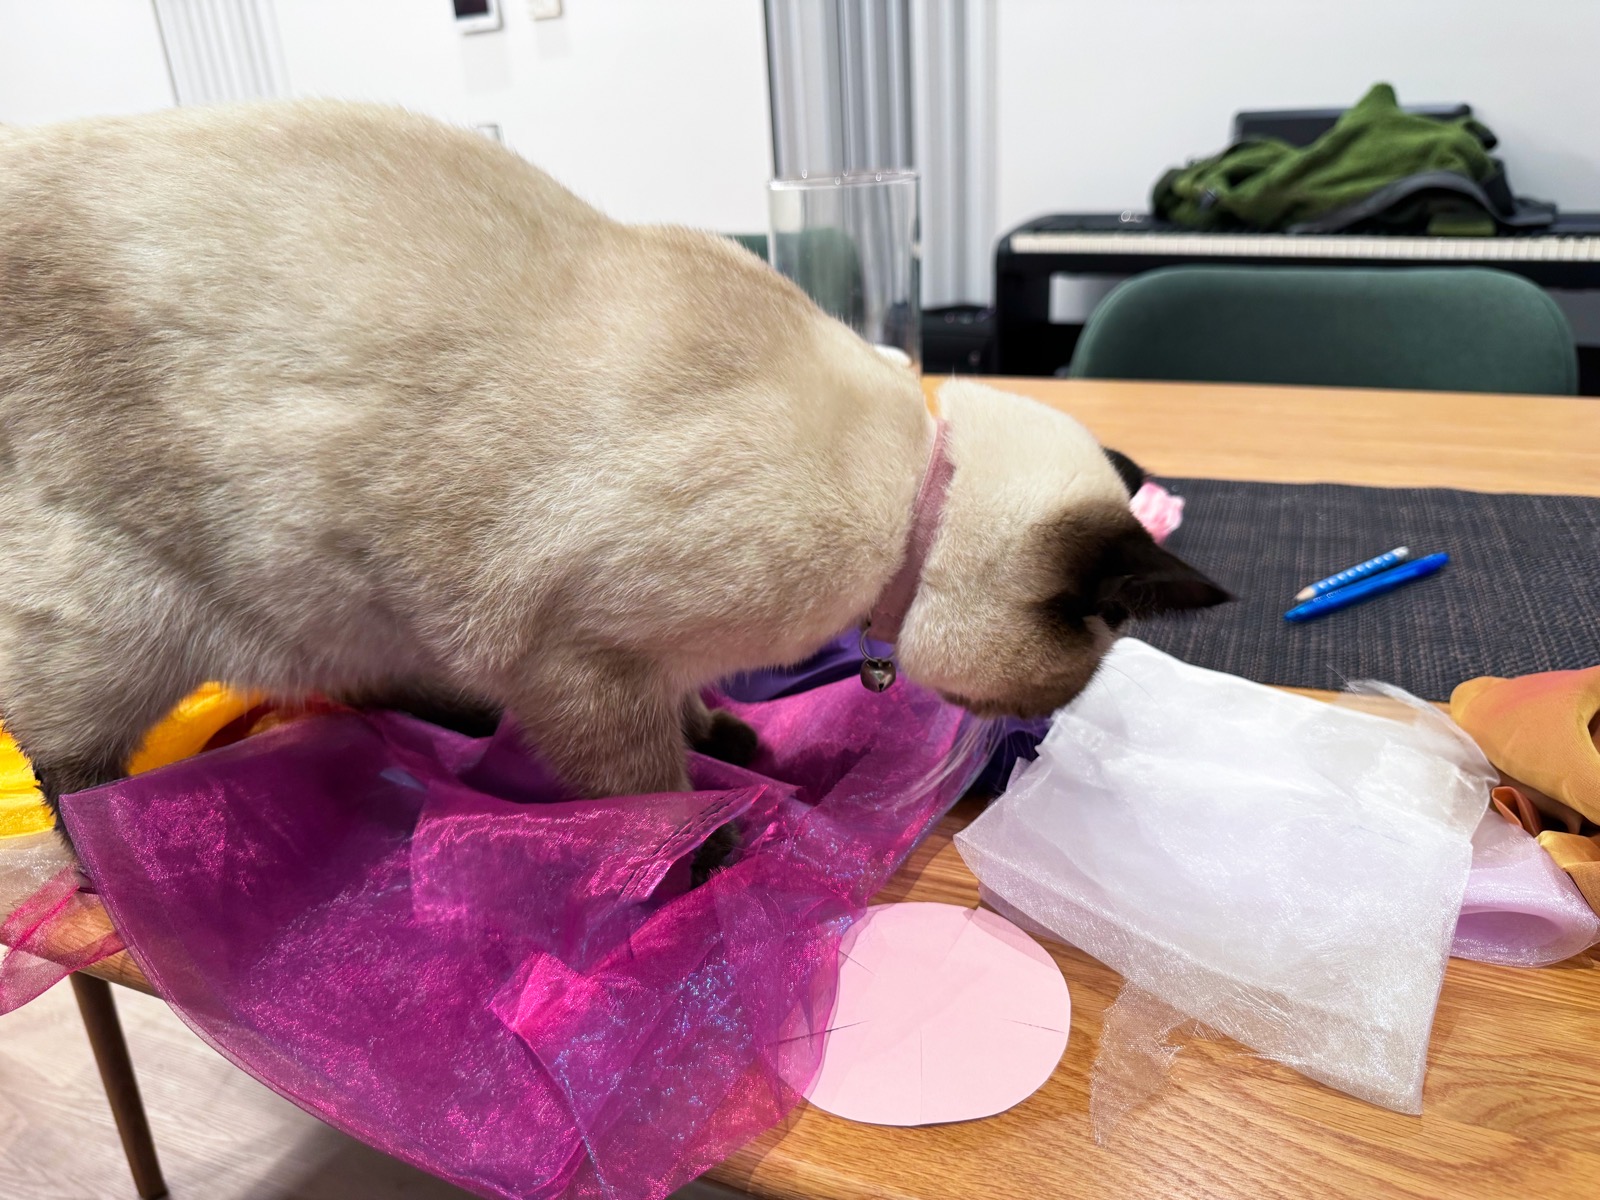
The more petals you make, the more dense the flower will be, and it will curl up into a ball shape. The fewer petals, the flower will be flatter and more spread out. There's no right or wrong to it, and if you make a few over time you'll get an idea of what you like.
We cut the fabric down each slit on each petal. Here you can leave the corners pointy, but I prefer to cut a small curve on each edge. This way you start to get the petal shape showing on the fabric, and it helps when you get to the next steps.
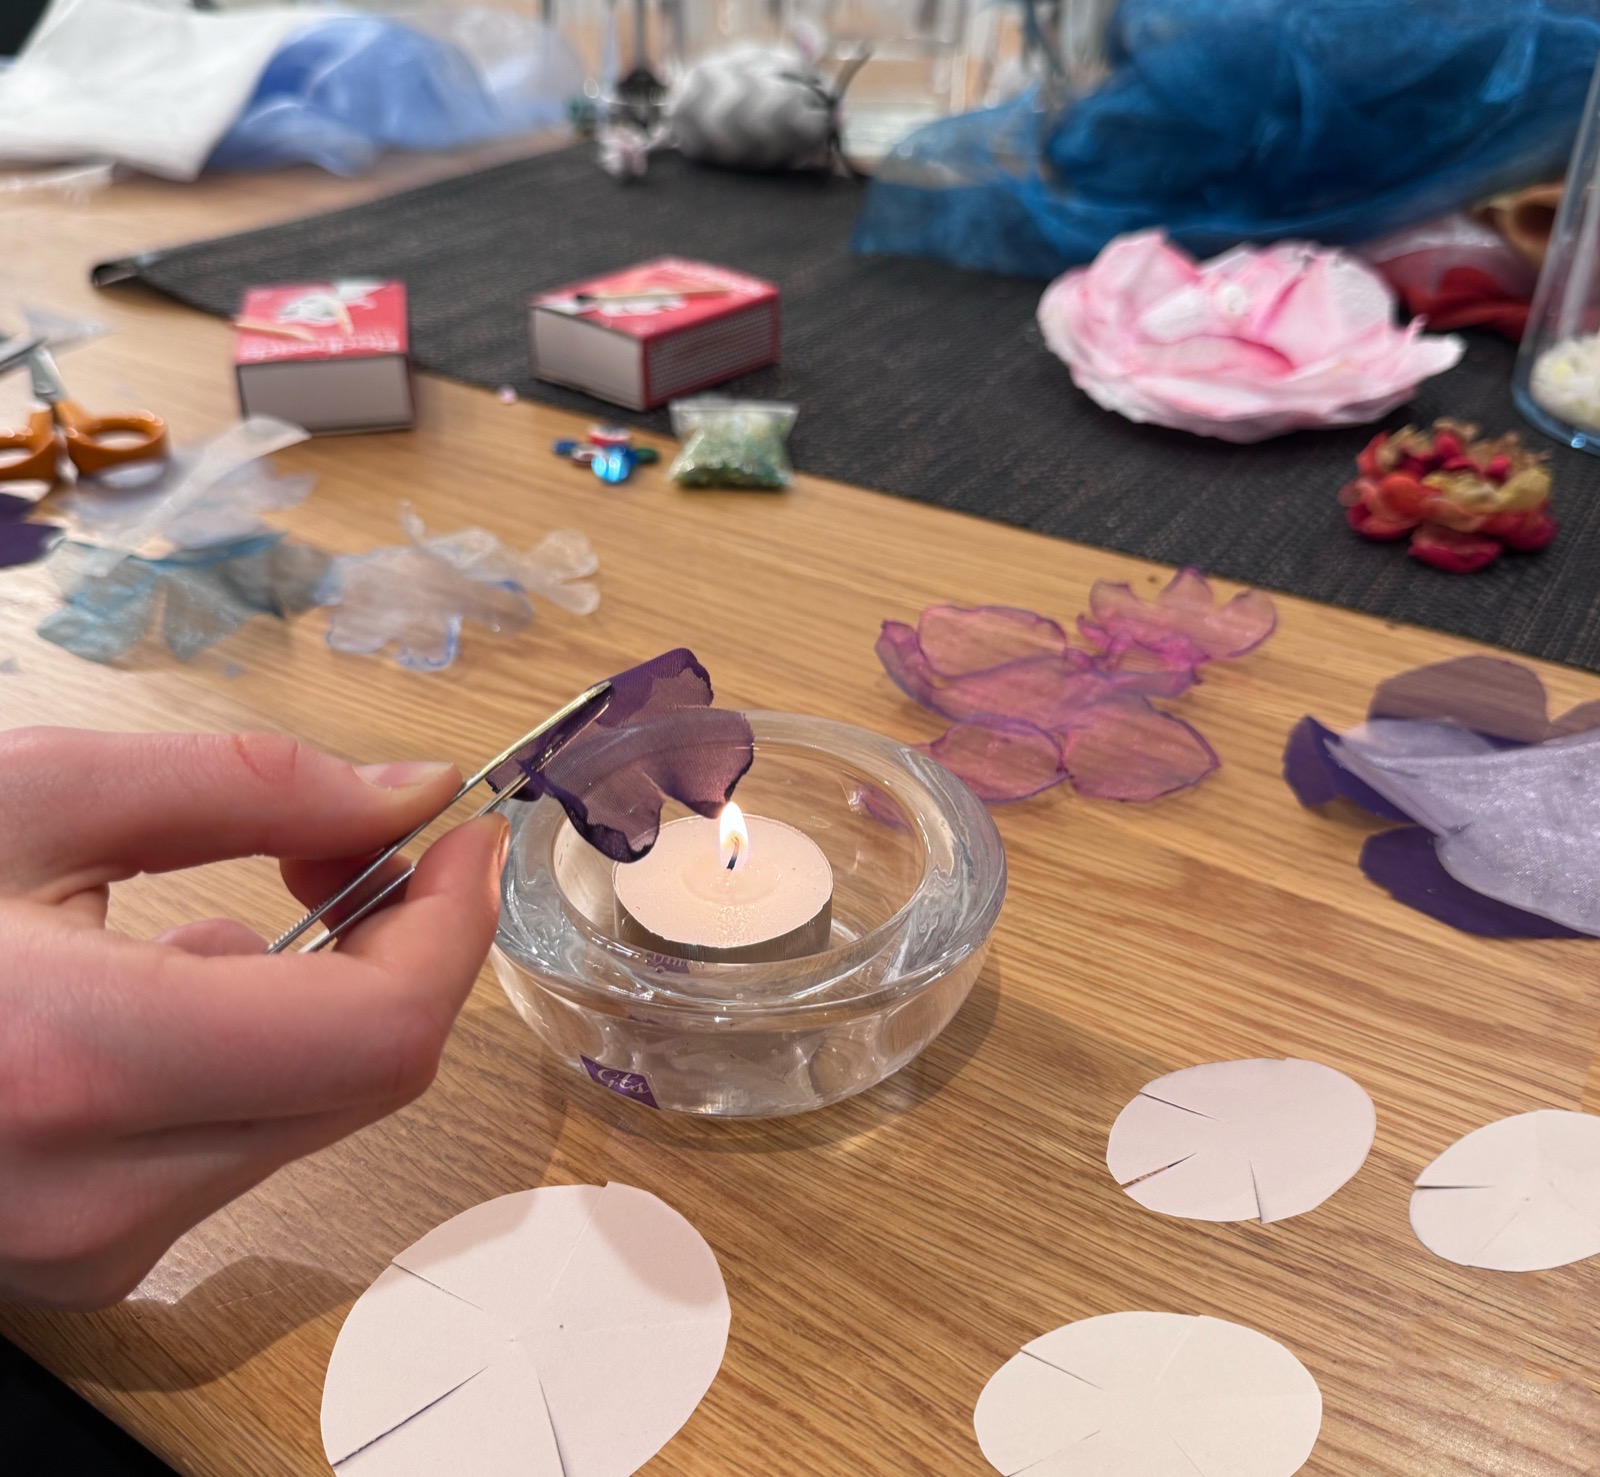
Now for the fun part! We put a tealight candle into a holder and light it. Then, being very careful with our fingers, we hover the fabric over the flame. It doesn't take much to burn, so my best advice is to be as gentle as you can and go as slow as possible. You only want the fabric to get hot and curl up around the edges, not to start a fire. If the edge does flame up, be ready to blow it out quickly.
I've seen people online using tweezers instead of their hands, which is definitely a sensible way to go. My neighbour is less nervous using tweezers and this method works well for her. I'm so used to doing it with my hands that I get stuck in like that (but that doesn't mean to say I haven't had my fair share of small burns over the years). You do you, but stay safe please.
Each petal curls up in a different way, showing varying levels of burn. When we have a few done, we stack them to reveal how the finished product will look, and whether we need to add more in. Once we're pleased with the look, we hand sew the petals together in the middle. Adding in a few beads or a button makes them look even prettier, and covers the stitching so it doesn't need to be too neat.
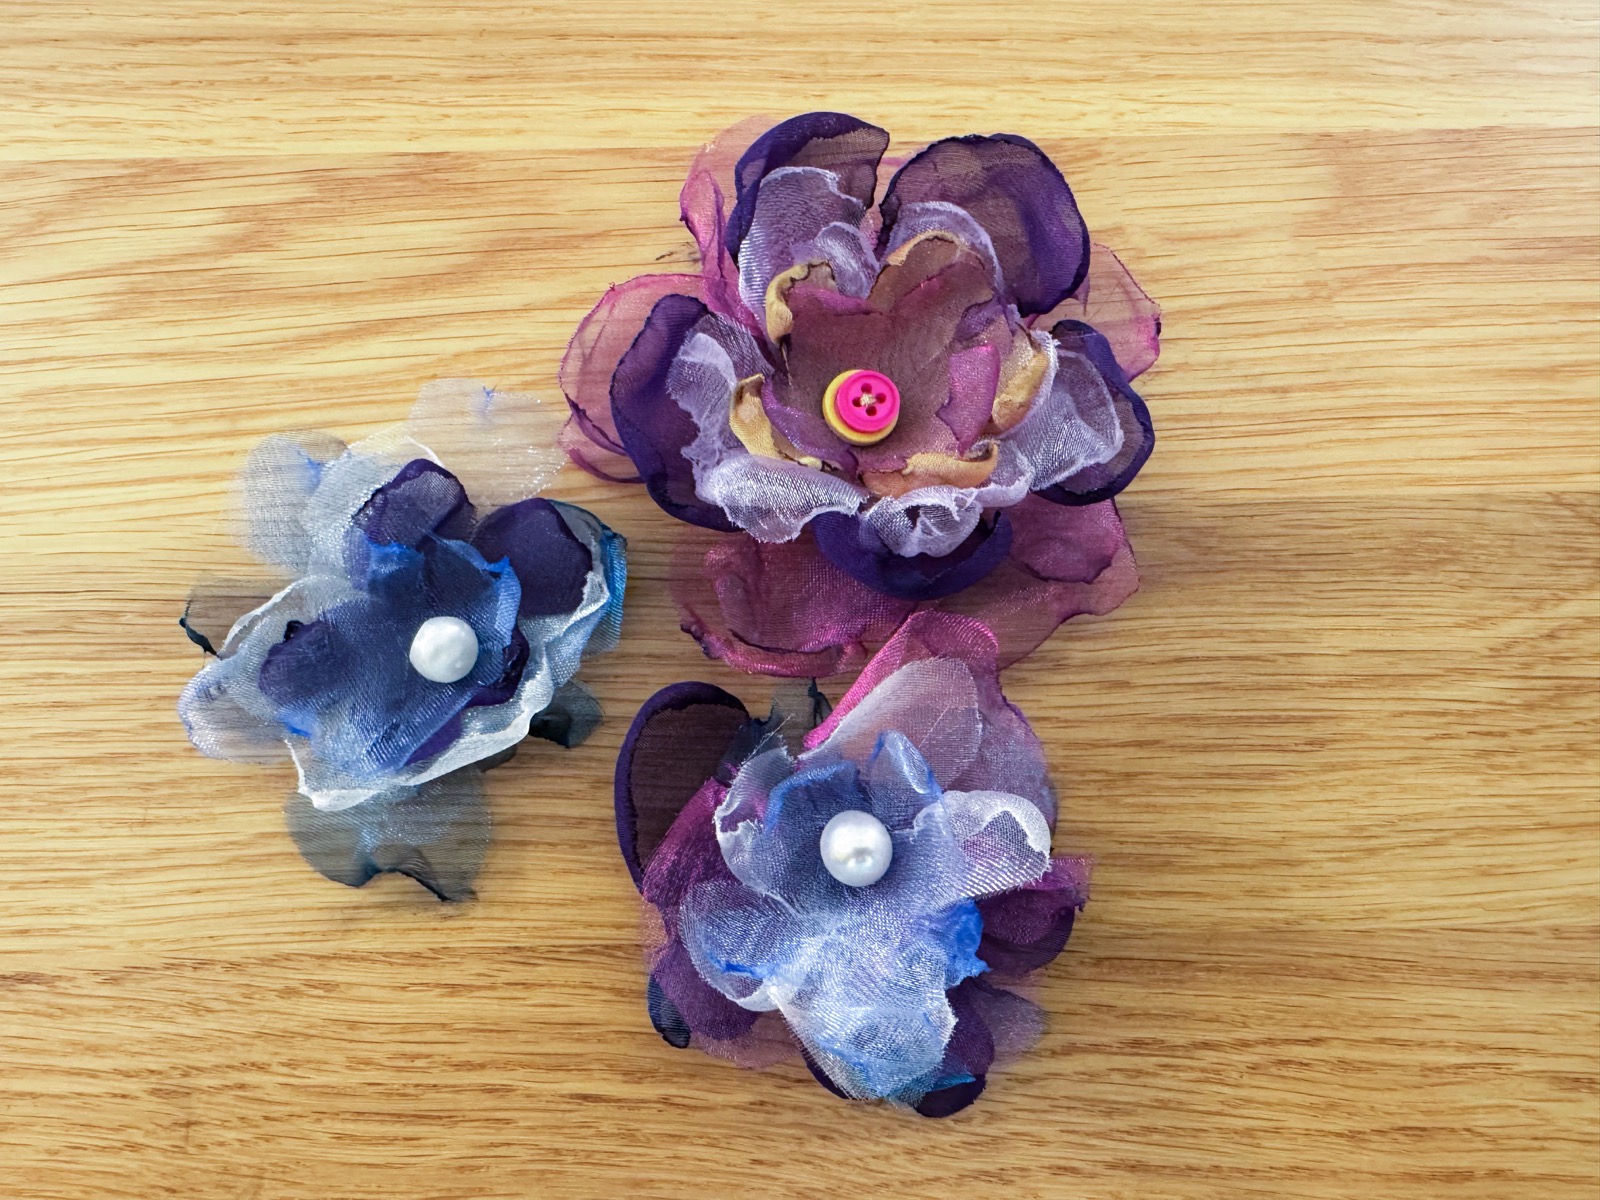
And that's it! Which of course belies how long they take to make (as, in my experience, all descriptions of craft projects do), but these are fairly simple and there's always a way to make them look good. There are lots of things you can do with your finished flowers: I've stuck them to magnets, hair combs and clips, stitched them to hair elastics and bands, and even flip flops. You can sew them to bags, add them to a gift tag or as a gift tag, decorate a box or a pencil case. Go crazy and have fun.